Website Content Editing Guide
This document is a reference guide for updating website content using Webflow’s Legacy Editor.It covers how to access the Editor and how to manage different content areas of the site, including Blog, Team, and FAQ collections.
Each section includes a short instructional video and supporting screenshots. Use this guide as a reference whenever content updates are needed.
How to Open the Webflow Editor
To edit content on your website, you will use Webflow’s Legacy Editor. This allows you to safely update content such as text, images, blog posts, team members, and FAQs without changing the design.
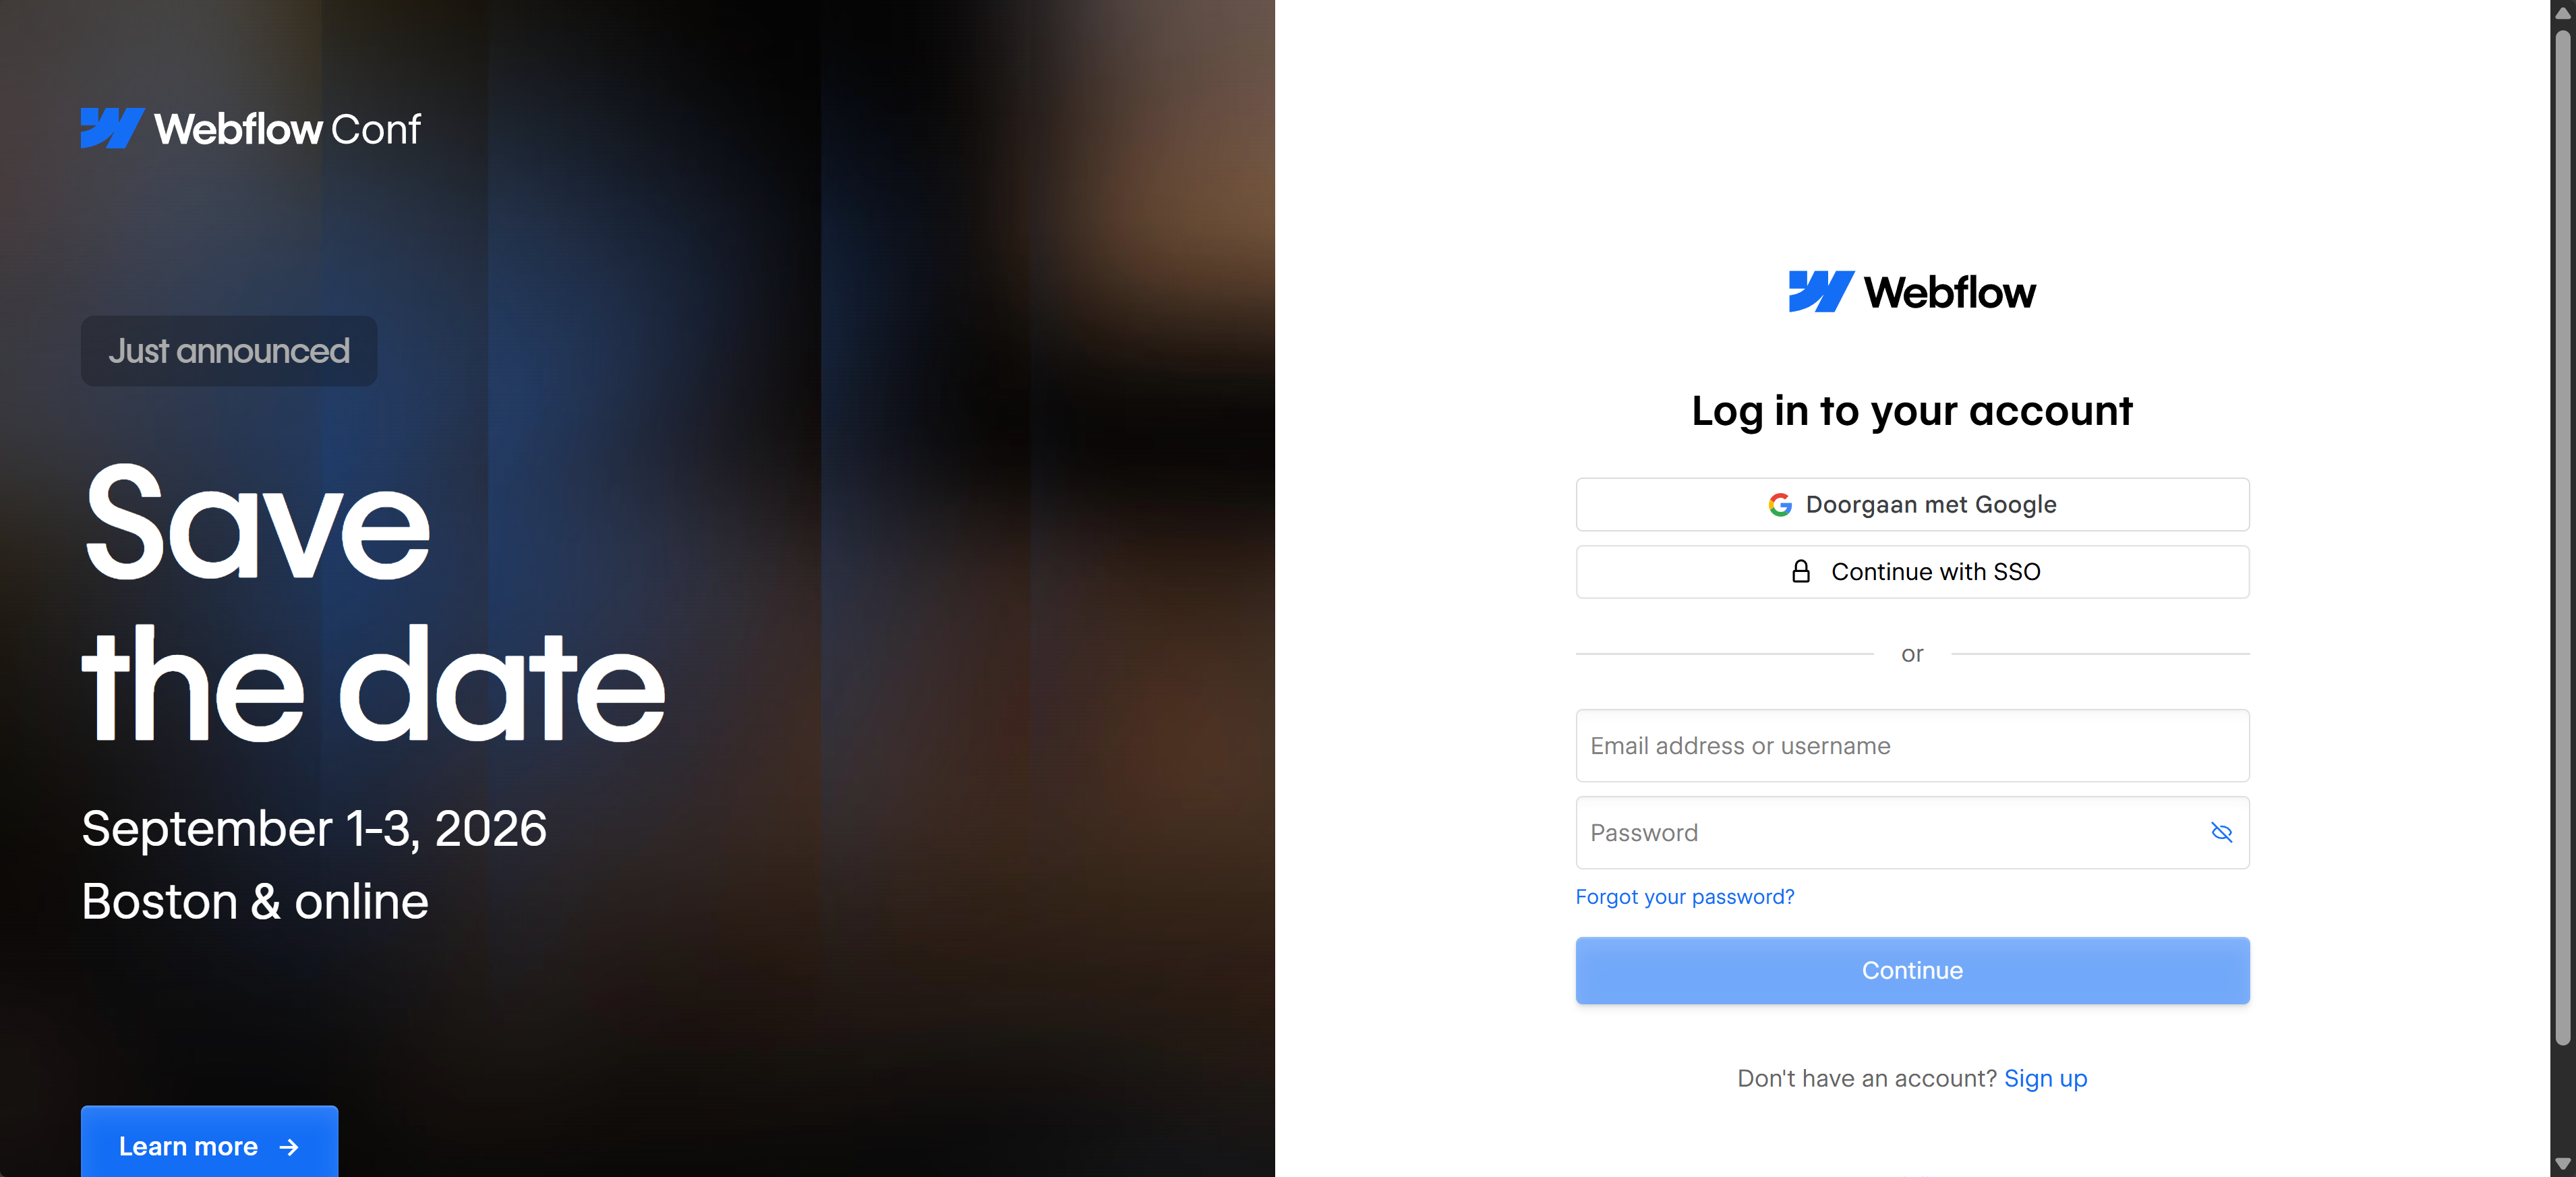
Step 1: Log in to Webflow
Step 2: Open the Webflow Dashboard
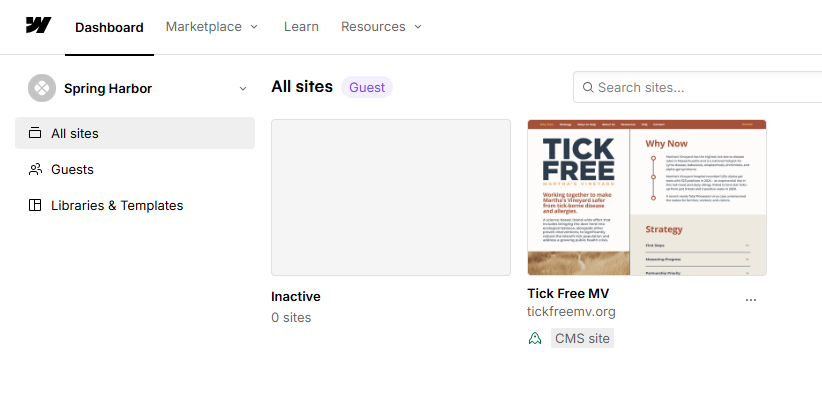
After logging in, you will see your list of websites in the Webflow Dashboard.
Step 3: Open the Site Menu
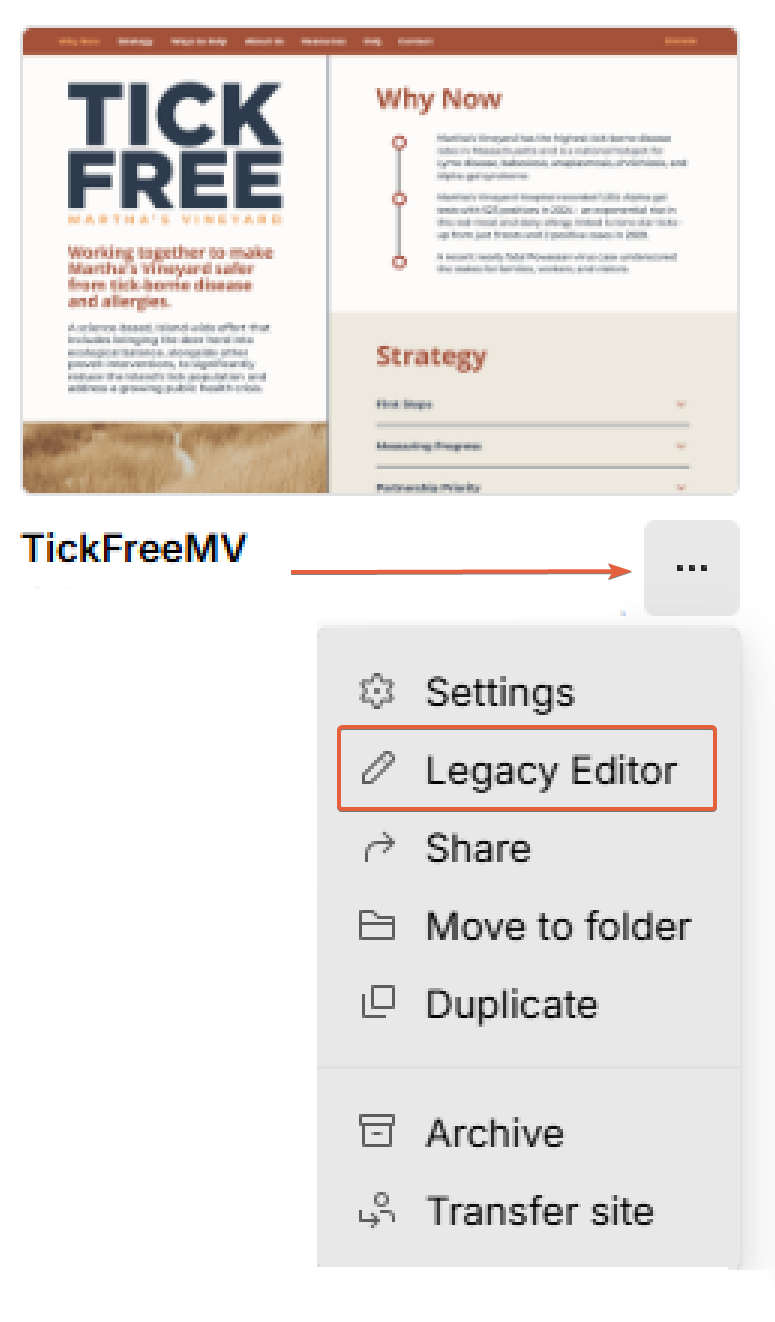
Locate tickfreemv.org in the dashboard.
Click the three dots (⋯) next to the site name.
From the menu, select “Legacy Editor”.
This will open the website with the Editor enabled.
Click the three dots (⋯) next to the site name.
From the menu, select “Legacy Editor”.
This will open the website with the Editor enabled.
The site will load and after a few seconds you will see the toolbar at the bottom of the site.

How Editing Works in the Webflow Editor
In the Webflow Legacy Editor, you edit content directly on the page. The Editor only allows content changes. The layout and design of the website cannot be modified here.
How to add blog posts
How to add/remove team members
How to add/remove FAQs
How to create a new page
New pages are created in the Webflow designer.
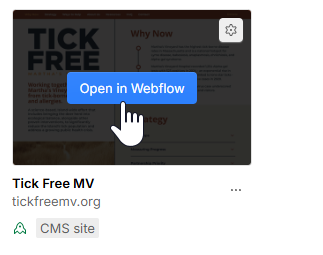
Hover over tickfreemv.org in the dashboard.
Click to open the Webflow Designer
Hover over tickfreemv.org in the dashboard.
Click to open the Webflow Designer